
Silhouette Tutorial

Silhouettes for Family and Pets!
In a recent Instagram Story, I shared a photo containing silhouettes of my children that my mother created and gave to me as a gift a few years ago. Because I received so many questions about them, the team and I decided to get together and create a tutorial for you. These silhouettes would make a great gift!

To Create Your Silhouette, You Will Need The Following Supplies:
Printed Reference Image, Scissors, Mod Podge or Glue Stick, Paint Brush (for Mod Podge application), Single Hole Punch, Ribbon, Pencil, White Cardstock, Black Cardstock, and a Frame (Optional)

Step One: To Begin, Print Your Reference Image.
Keep in mind that the final silhouette will be a reflection of the current image, so flip it before printing if your image needs to face a certain direction.

Step Two: Cut Out Your Figure from Your Reference Image.

Step Three: Trace Your Trimmed Image onto the Black Paper Using a Pencil, Creating the Silhouette!

Step Four: After Your Image has been Traced, Create the Silhouette by Cutting Along the Pencil Lines!
You Now Have Half of Your Silhouette Artwork Complete!
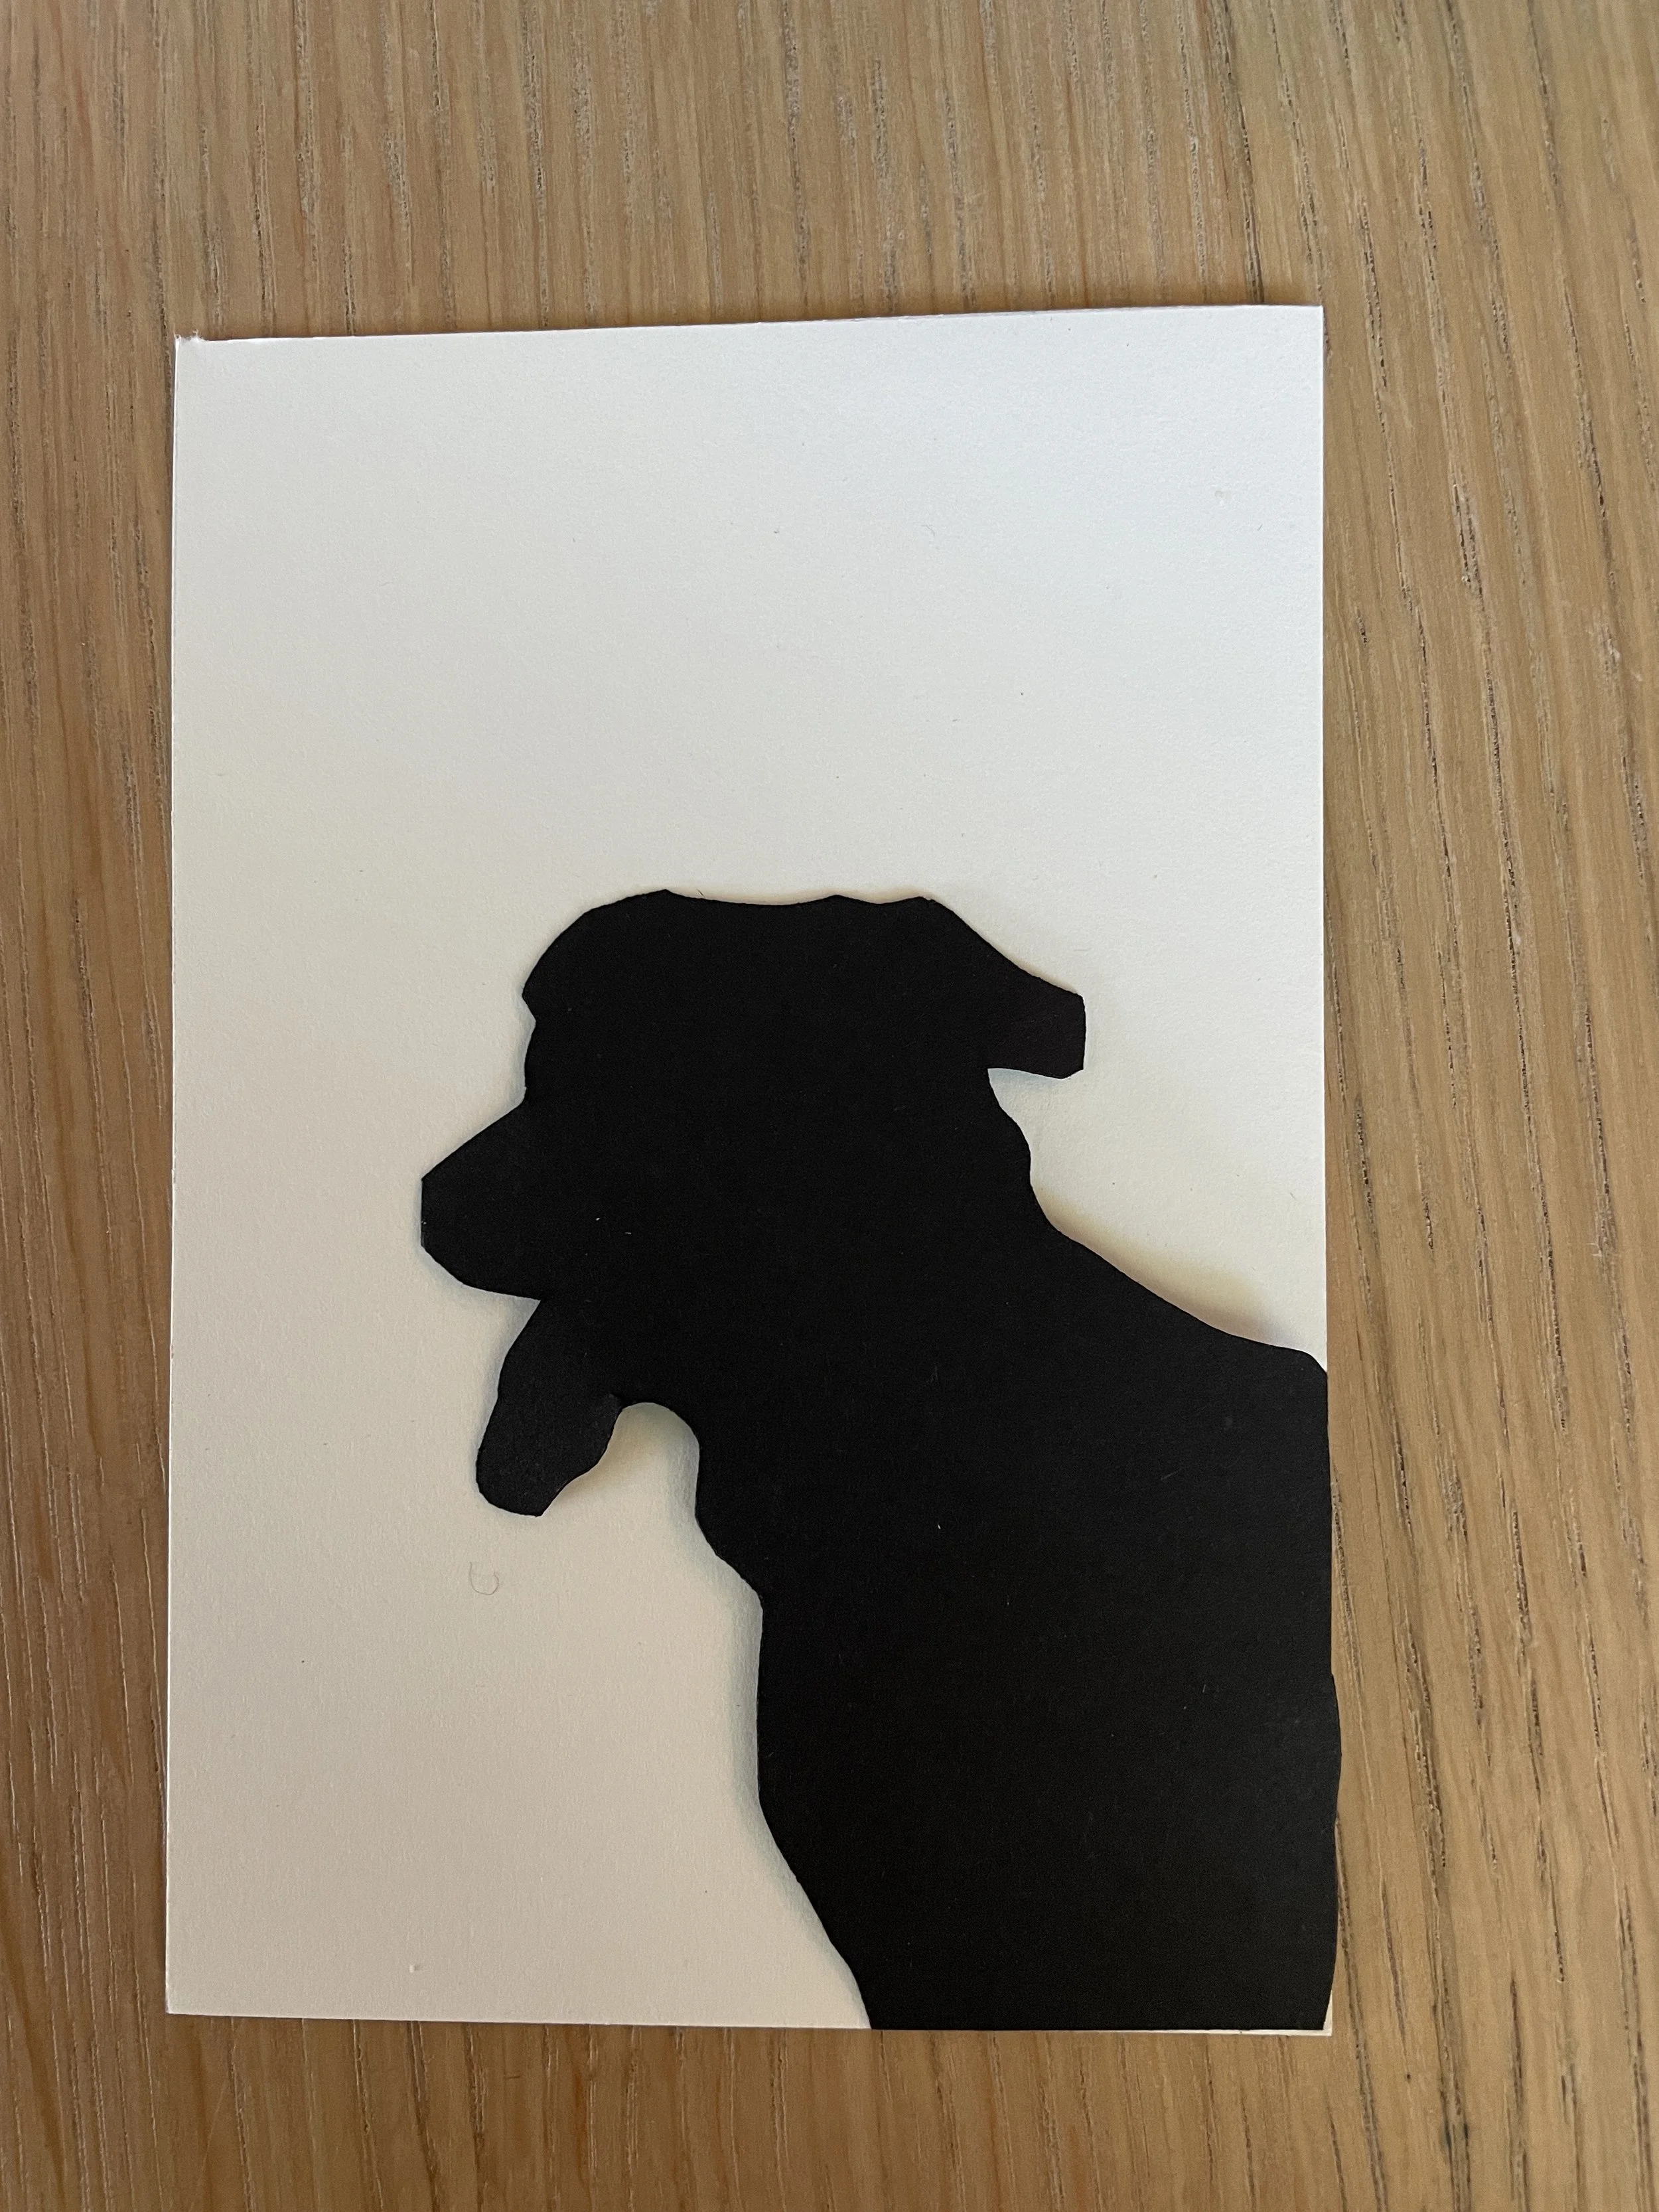
Step Five: Glue your black silhouette cut-out to your white background paper.
This paper can be any size or shape that you like! If you would like to use it as an ornament, cut the white paper into an oval, glue your silhouette to the center, and punch a hole through the top. Use ribbon to hang your silhouette art anywhere in your home! These silhouettes also look incredible framed. Find any frame you love, and glue the silhouette to a white piece of paper sized for the frame.

After the Glue Dries, You Can Then Add Your Silhouette Artwork to a Frame, or Add Ribbon for Hanging Display!
If you create your own silhouette art, please share it with us on Instagram! We would love to see what you create!
