
The Stain Saga
Stain is back with a vengeance and it looks like it’s here to stay. While it’s beautiful when it’s done right, it can also be a huge source and stress and frustration. Personally, nothing has frustrated me more in my years of design than finding the perfect stain. I’ve come to realize that it takes years of experience to nail this down (thankfully I have that now). But today, I hope to help with a few pointers.
Where to begin? Let’s start with a big cleansing breath. Choosing a stain can seem scary because it’s somewhat permanent. There are certainly ways to change it later, but none of them are easy. So, it’s better to be sure on the front end, which is why we’re here to help!
Know Your Wood
Knowing which wood specie you’re staining is paramount to the stain process. Wood is dynamic, with each species having its own set of unique characteristics. For example, walnut is durable but light-weight. Cedar is soft and sometimes knotty. Maple is extremely hard with an even grain. One should take into consideration how each type of wood varies in porous structure and rate of absorption, not to mention age and original color.
My point is not to scare you, but to introduce the necessity of being familiar with the quirks of each piece of wood you are staining. Like the natural world, just when you think you’ve figured it out, wood can surprise you.
Common Wood Species:
Maple
Walnut
Cedar
Knotty Alder
Pine
White Oak
Consider The Space
In addition to the intricacies of the actual wood being stained, it’s also crucial to think about the surrounding design aspects of the space. This includes paint and décor colors, natural and artificial light, and other wood types, textures and colors. Putting a stain next to yellow hues will make the stain look muted, while adding a blue-grey stain to red woods will help neutralize the hue. Finding just the right stain requires not only numerous samples. It is important to bring those samples into the design environment where the stained wood will live.
Test A Variety
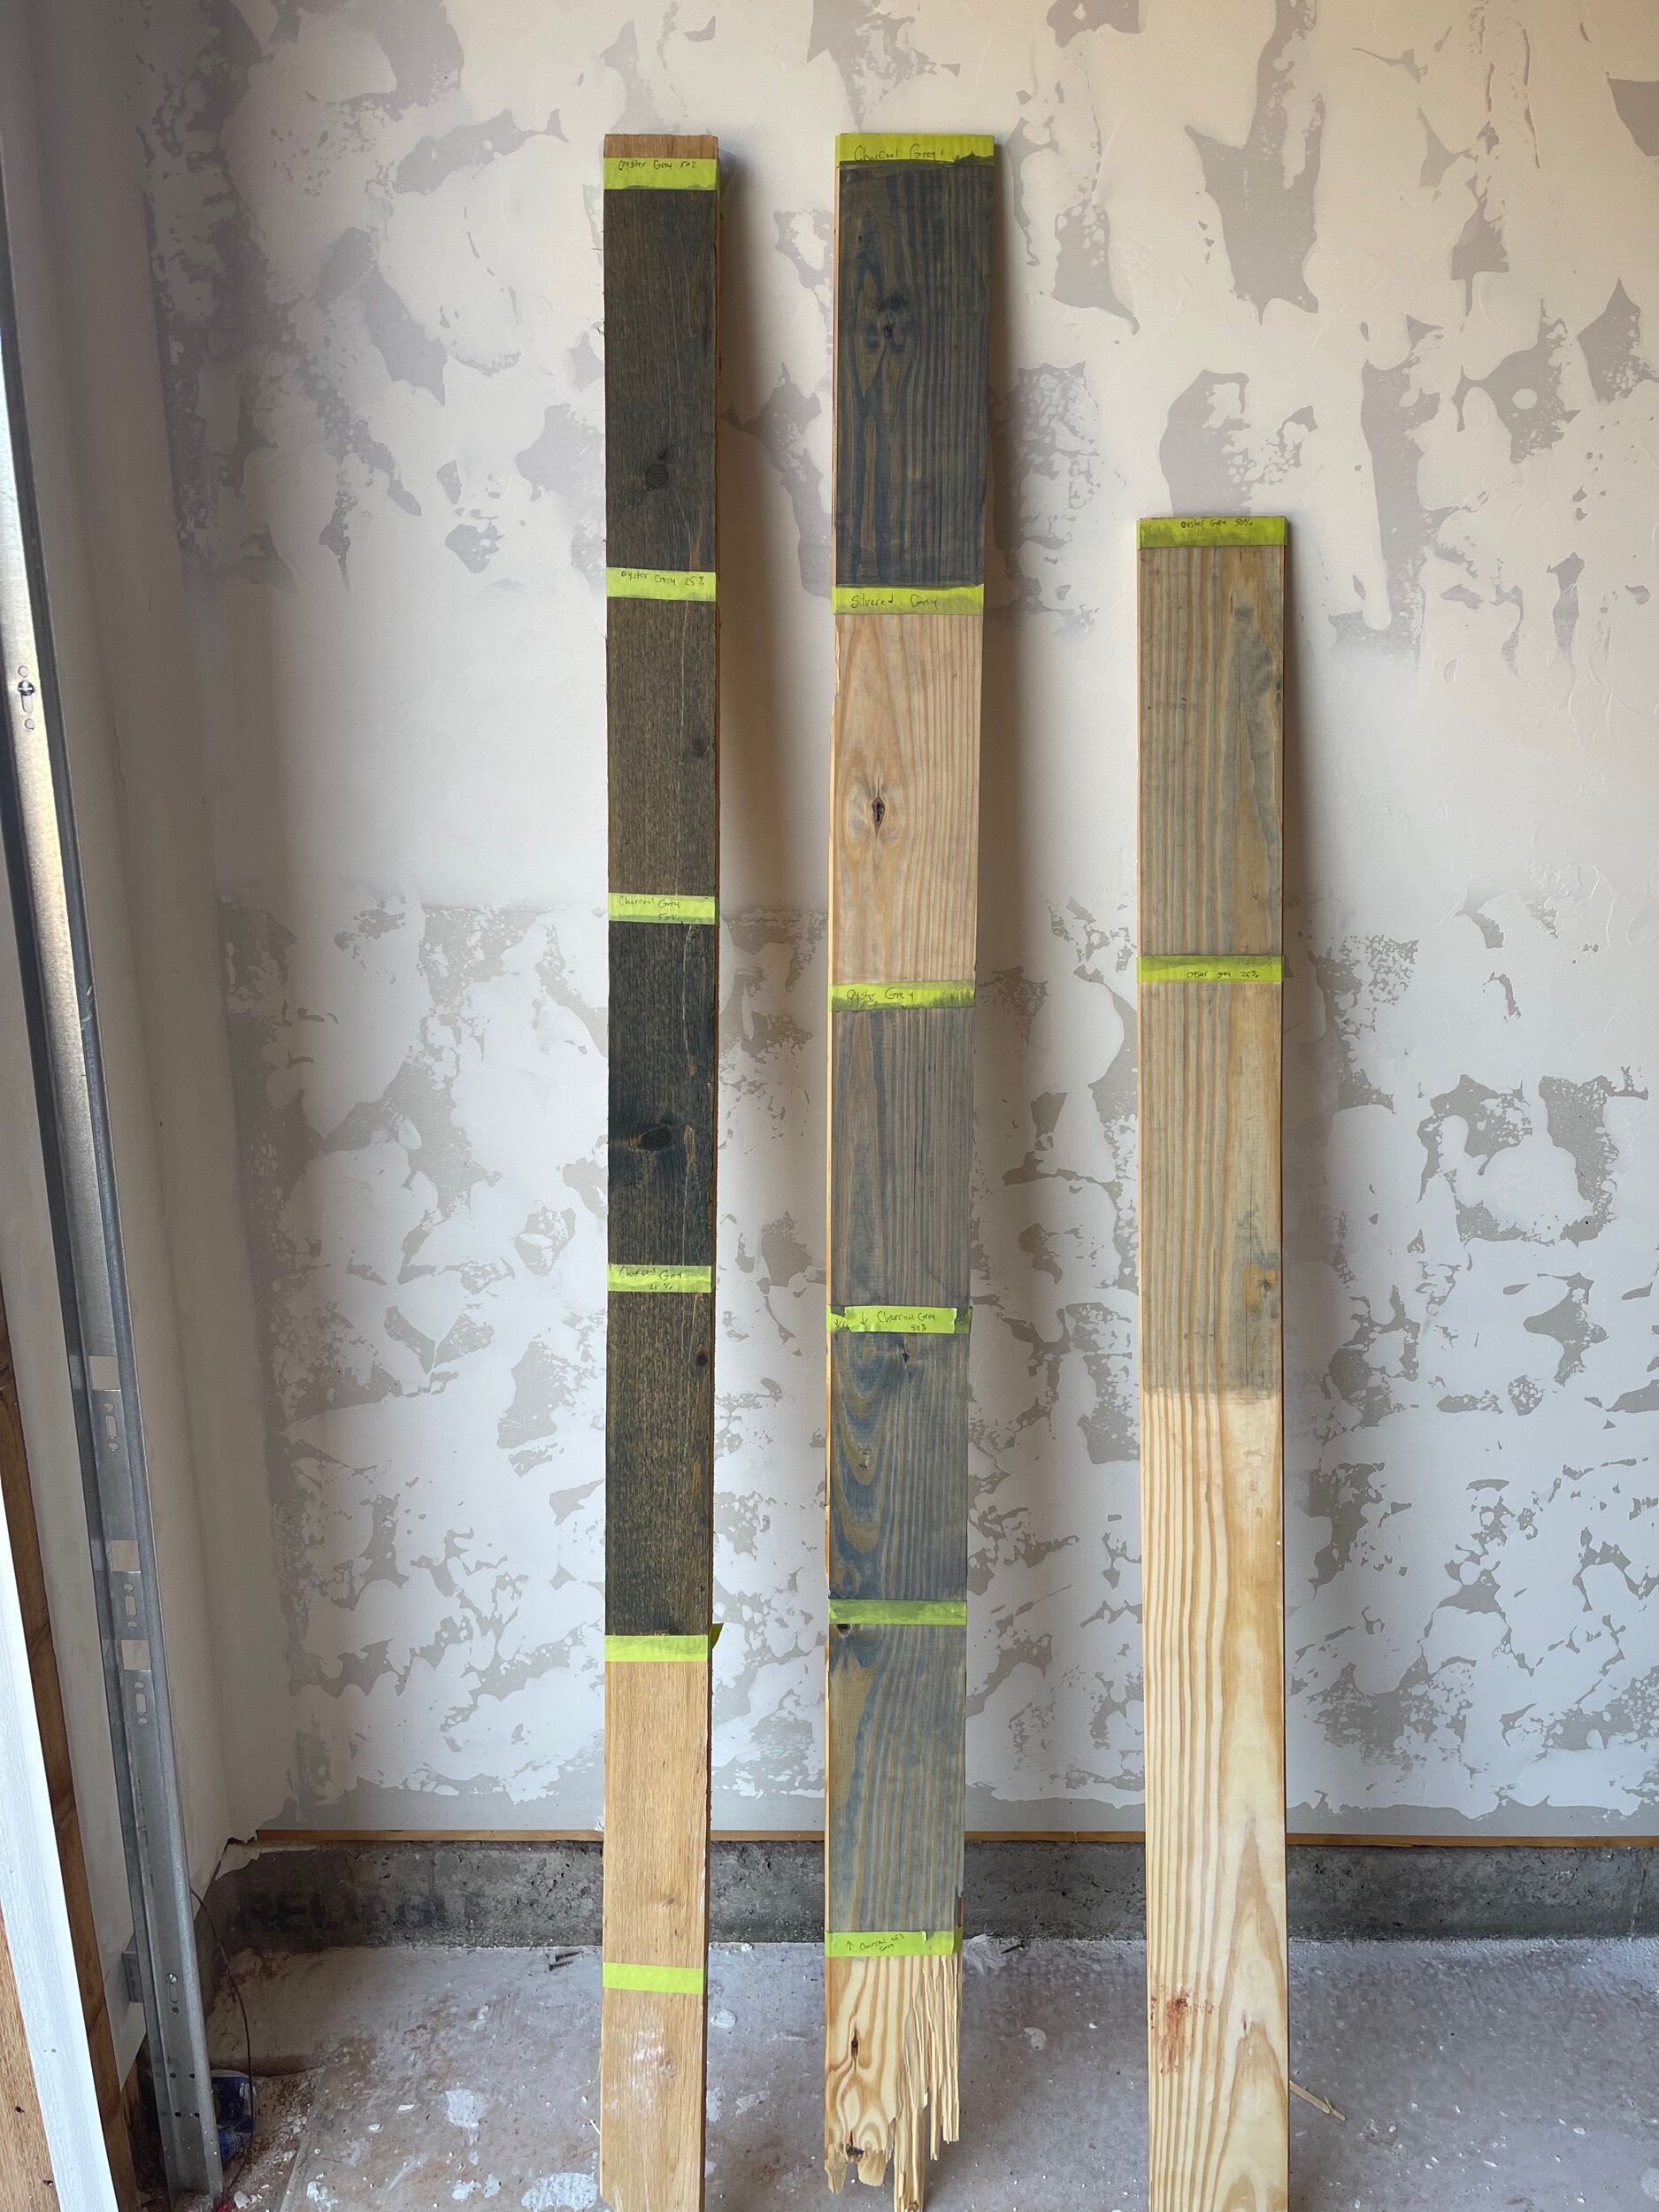
It’s important to test a variety of stain colors on the specific wood species you’re staining. Not only should you test the actual stain’s color, but you should also test what it looks like after being diluted by paint thinner to certain percentages. For instance, in this photo, I am sampling Minwax’s “Oyster Grey” at 100%, 50% and 25% for the exterior cedar of this house. This is where the magic happens! I have also even mixed two different stains at 25% to come up with my own custom stain color. It’s a process to get it right!
Prep The Space
This is step I see missed in the industry frequently. Wiping down cabinets is always done but when cabinets are stained, a very detailed wipe down is very important, especially with lighter stains. The saw dust or dirt left on cabinets can alter the how the stain is absorbed, leaving streaks and an uneven application. Always communicate to your painters to make sure they do a complete clean up of the wood before a stain is applied.
Seal It Right
Interior:
Many painters will spray your stained cabinets with a satin finish unless you notate otherwise. A flat finish is what I’m seeing on most inspiration in design right now so be sure to communicate that to your painter.
Exterior:
You cannot use a flat finish on the exterior to pass many warranties with a builder or subs, so using a satin finish is best.
Don’t Lose Heart
Getting a stain right takes investigation, education, and patience. Knowing ahead of time what you want can help you to achieve the results you hope for.